If you want to go ahead and skip to the game I made, it's over here.
About 4+ years ago I heard about a new(-ish) game engine called Godot. I thought that it was kinda neat to have another open source one around, but I didn't think too much of it. In the past few years I'd hear about it again from time to time (e.g. when it gained C# support, making it a Unity contender). I was kind of interested in making something with it, but at the time I had no ideas.
Recently, I thought "It has sure been a while since I worked on a personal (technical) project. Not to mention a video game. I'm kinda itching to try out that there Godot thingy...". So about two-ish months ago, I decided to build something with this engine. Thinking about what could be small, short, but good enough to get my feet wet, I settled on reimplementing my Linux Game Jam 2017 entry Pucker Up.
Lemme take a brief aside to tell you about Pucker Up. As stated before, it was for a jam. My first Jam in fact. At that time, I was a bit more into tinkering with the Nim language. I kinda wanted to be a bit more HARDCORE™ with my approach in the jam. Luckily the only restriction was "Make a game that runs on Linux". No theme whatsoever; quite nice. We had 72 hours to finish and submit it. Then it would be live streamed by the jam creator.
I originally planned out a much more complex game (i.e. what was a tower defence). Then being HARDCORE™ I set out to grab some GLFW bindings, write my own game engine/framework, graphics/shaders, physics, etc. At the end of the first day, I realized how much of a difficult decision that I had made. All I got done were the initial windowing and input management, being able to draw flat coloured debug circles, and circle intersection algorithms; it was absolutely piddly. Realizing the pickle I had put myself into, I reevaluated what I could do with the toolkit I had made from scratch. I threw out my 99% of my original idea. Thinking instead about some sort of arcade-like game. The result was a sort of Pong with the goal in the center, where you had to keep the puck out of it. The QWOP control scheme happened by accident (I swear). Turned out it was kind of fun.
After the Jam was over, leveraging Nim's compile to JS feature, I was actually able to make a web browser playable version of the game in a short amount of time. I didn't have to force users to download a sketchy executable which was nice. That took me about two weeks since I needed to also add some extra Nim to JS/HTML5 bindings and work out a few kinks and bug or two. But it actually was quite simple. (Speaking about Nim, it also has some Godot bindings too.)
I've been looking at that JS/HTML5 version of Pucker Up for the two-ish years, discovered some bugs here and there, I thought it would be best to give it a little refresh. So instead of trying to wracking my brain to think up a new game, I settled on renewing something old I had.
Back to Godot-land. What I would say that originally drew me to the engine is it seemed like a nice professional project that was very liberal with it's licensing and it is openly developed. Linux being a first class citizen for the project is very sweet too. I tried out the Unreal engine on Linux and wasn't too happy with it. I've also had some serious issues with playing Unity made games on Linux.
I'm a person who has probably made more game engines than games. I don't know why this has been the case for me, but it just has. Maybe it's that feeling of being closer to what's going on in the whole program, or rather knowing 100% how something was made. Looking at the source for Godot (and the docs, which has A+ tutorials), I appreciate how easy and hackable this engine is. And to boot, the community is quite friendly.
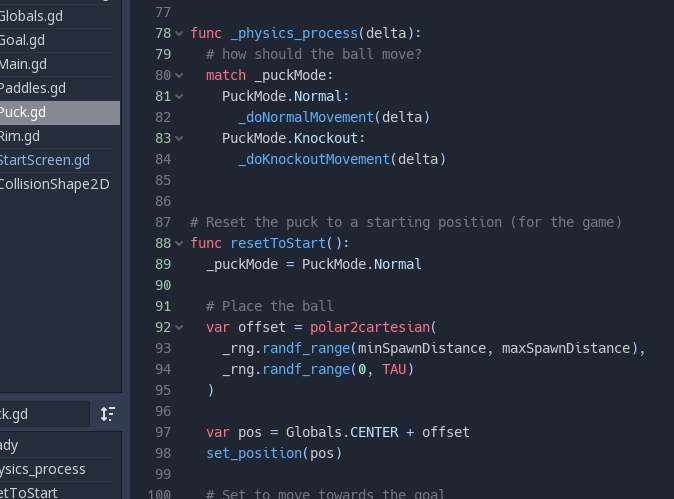
I originally wanted to make my game in C#, as I prefer the more structured languages. I soon found out that it was a no-go for me. My desire is to target the Web as my main platform. As of writing this blog post, C# only has desktop support. Therefore, I would have to use Godot's built in language GDScript. I wasn't too adversed to trying it out. It had a very Pythonic feel to it. This also helps too if I want to bring Pucker Up to any Android or iOS platform. It definitely feels a little odd a times. In the sense that I feel that I'm writing Python code, but some of the APIs are completely different. I also miss the safety of explicitly typed languages. They offer some more preflight checks. Godot has some (Python is even worse), yet I am not completely satisfied. In the future, if I make a serious Desktop game, I'm going to use C#. But for jams and any non-Desktop platforms, I'll reluctantly use GDScript. I really don't like writing JavaScript though I want to target the web, so I'm willing to make this small compromise.
The tutorial section of the Docs are quite good, but the API docs don't feel like they are fully here right now. For example if you look at much of Microsoft's C# docs, many methods usually have an accompanying example with them. This isn't always the case with Godot. For instance, to spruce up Pucker Up, I wanted to add some directional sound. Doing some googling I was led to the docs for AudioEffectPanner. Looking through, it's super sparse, and doesn't have a simple example of how it can be used. Not nice.
The main draw of using any engine is "Look at all the stuff we provide for you." When I started make games, it mostly was only a set of APIs. Tooling was something you had to do on your own. Godot provides a pretty nice editor (UI, level, animation, etc...), but it does take some learning.
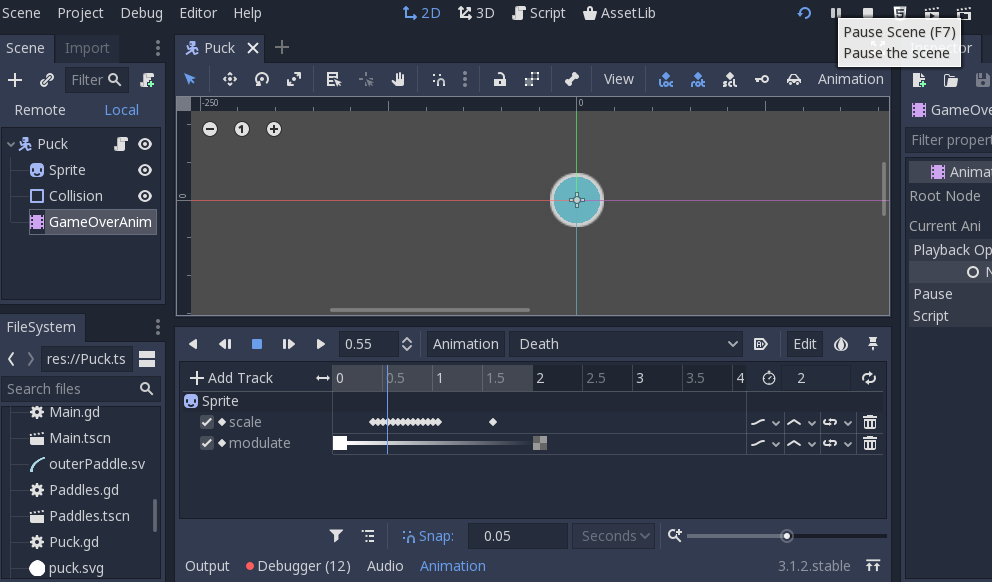
I'm also a pretty big fan of Animation (go look through some of my other posts to see). The builtin framework for Animation that Godot provides I think is nice, but the editor isn't the most intuitive. I've used programs such as Flash (R.I.P.), Moho, Clip Studio Paint, and even Unity. They were always pretty easy to get started with. In Godot, I had some trouble figuring out how to key properties. I didn't know what kind of interpolation I was initially using. And the curves editor was difficult when it came to zooming it's viewport(.e.g I needed to work on a value in the range of [0.0, 1.0], it was a bit of a struggle). One of the other things that drove me nuts: If you didn't reset the playback head to `0` before running your game, the animation would start where the head was left in the editor. I can see how this is handy for Animations that are longer (.e.g 5+ seconds). Though if you notice in video games, many actions/effects are on the quick side (e.g. 1/4 of a second). When you're doing this, you tend to what to see the whole thing. I will admit that my digital animation experience it a bit lacking (I think I've spend more hours with a pencil and paper than with a Wacom tablet), but some stuff didn't feel that natural. I also ran into a bug: when tabbing through options to adjust properties, sometimes the editor would freeze. Not fun.
Godot also has a minimal UI framework is built in. Adding custom skinning can be quite the hassle though. A CSS like way to skin the UI would be wonderful (which is that the Qt and Gtk frameworks already do). This might be a time sink for the engine (and would add much extra complexity) for what is only a minor feature. I can dream though...
After about two-ish months of work, I had a more sophisticated version of Pucker Up ready. I had some extra animations, more sound variation, smoother movement, improved score reporting; I could go on for a while. Without Godot, these would have taken much longer. There was one last hurdle to overcome: Exporting to HTML5. I was hoping for this to be a few clicks and done, but it wasn't quite that easy. Retrieving the HTML5 export was simple enough. IIRC, there was a one-click download button. Export prep was a breeze too. The issue arose when I then went to run the game in my browser. When I loaded up the game.html file in my browser, the scaling and placement of my assets were not where I expected them to be. Even across browsers (and different machines) it all appeared vastly different. I got some of my other friends to help me test this out. I did file a ticket on the Godot issue tracker about my problem. I also asked the Godot Reddit community for their experiences with targeting HTML5. From there, someone was able to suggest I tinker with the "Stretch" settings for the project. Voila! It gave me the result that I wanted and order was fully restored. This was quite the frustrating experience and I think it could be remedied by mentioning these "Stretch" settings in the "Exporting for the Web" doc page.
I've also noticed that the performance of Pucker Up is much smoother in Chrome(ium) than in Firefox. That isn't good. The later browser has some semi-choppy movement of the puck (and high speeds), and the sound effects (such as the bounces) weren't playing at the exact moment that they should. They were off by a few milliseconds. While this doesn't grandly impact the game (as it's still playable), I don't like having to add a "Plays slightly better on Chrome based browsers." footnote to my game page.
All in all, it may seem that I'm be a little extra critical of Godot here, but in earnest it's been a very pleasant experience (re)making Pucker Up with it. With were it stands right now, things can only get better with the framework as time goes on. I'm looking forward to the next game jam I'll enter because I'm sure enough to use this tool. Or maybe I go on with a more grand idea. Godot only knows. :P
You can find the Godot version of Pucker Up over here. Please enjoy.
https://gitlab.com/define-private-public/Bassoon
I created this since I wanted to be able to do audio playback in C# on Linux, Windows, and OS X. While there were some packages available on NuGet, they were not preferable to me, so I took the time to make my own. It's hobbled together using P/Invoke bindings to `libsndfile` and PortAudio. At the moment it does not support MP3 decoding (though that is planned), which is one of the main drawbacks. And you also need to build the native dependencies yourself, but a CMake file is provided to handle that. In the future, I hope to also add some more features such as audio recording and some minor effects. So far I am happy with it.
Edit (Jan 30th, 2017): I written an article on how Random Art works. You can read it here.
Have you ever heard of Random Art before? If you don't know what it is, the short and skinny is that it's a program that will generate some really stunning images using a randomly generated math equation. That's what the image above was made with. The original program was written by Andrej Bauer. The Random Art website uses an OCaml program that been compiled to JavaScript. Unfortunately the source for that is not publicly posted (which is a shame because it makes some of the best pictures), but a simple Python implement is available. Going off from that, I decided it port it over to Nim and add support for rending with OpenGL (and make a few other changes I see fit).
Well... actually I ported that to C++ (& Qt) first about a year ago, then I did another port over to C# four months later. The C# one was a little more interesting because it was a distributed rendering system leveraging cloud services and RabbitMQ; I ended up using it on a film I was working on. Pretty cool. Those... I don't really feel comfortable sharing the source to right now. But I'll give you a Nim implementation instead. : P
You can find the application over here on GitLab (or GitHub if you prefer it). To compile the thing, your going to need GLFW installed as well. It can run into two modes: CPU bounding rendering and GPU (via OpenGL). There is a lot more info the in the Readme, but here is the usage message:
Usage:
  ./random_art [input] [options..]

  input : a path to an equation file, or provide `stdin` to read input
          from standard input

  Options:
  -r, --renderer : cpu | opengl
                   render on the CPU or with a GPU (using OpenGL)
  -s, --size     : <width>x<height>
                   the dimension of the render, must be a positive int
  -b, --bounds   : <xMin>,<xMax>,<yMin>,<yMax>
                   the bounds to use to render, must be a float
  -o, --output   : <filename>.png
                   the file to save the render as, must end with .png
If you run the application without providing an equation, it will think up one for you. Writing your own equations has this Scheme-like syntax. It's pretty easy to understand, but also to parse. The equation below makes the image to the right.
(mul
  (var y)
  (mod
    (sum
      (var x)
      (var y)
    )
    (const 1 0.7 -0.1 0.95)
  )
)
I plan on working on this some more down the road. You can already see some of my changes showing up (e.g. an alpha value). I'll keep you guys posted. Once again, the code is available here (GitHub mirror).
Before I begin, you can find the source for Blit over here.
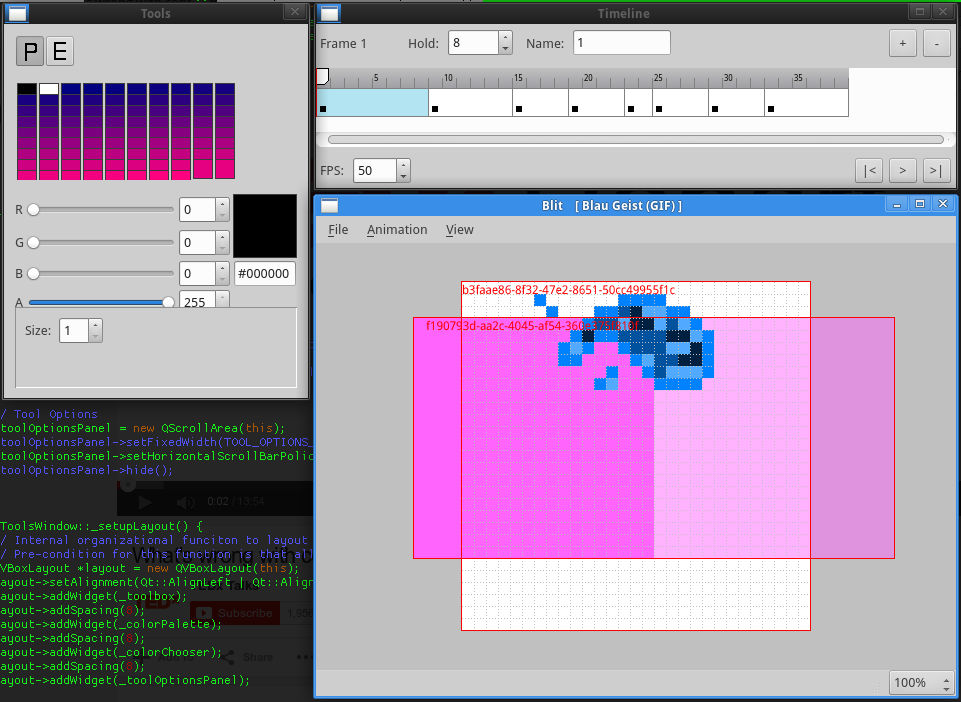
I want to talk a little bit about a project I worked on every day from July 2014 till the end of August 2015. You may have seen a few entries about it back on earlier posts; that project was something I called “Blit.” If you’re wondering what Blit was, it was my attempt at trying to make an Animation focused art program. It was pretty ambitious for someone like me at the time.
There were two main reasons why I started to work on it:
- Back when I was an undergraduate, I was part of a student group were we had to do these things called “major projects,” each year if we wanted to retain membership. They usually are of a technical nature (programming & engineering). This is where my initial drive came from
- I’ve never worked on a “large,” or “longterm,” project before. Everything else I’ve done up till that point were small things like class assignments, course projects, or tasks for my internships. I had friends who had worked on their own projects for two or three years straight and made some really cool stuff. I really wanted to be able to tell others (mainly prospective employers) “Yeah, I’ve been working on this thing for over year. Want to take a look?” Other than just “having something,” I also wanted to learn how to manage a larger and lengthier project.
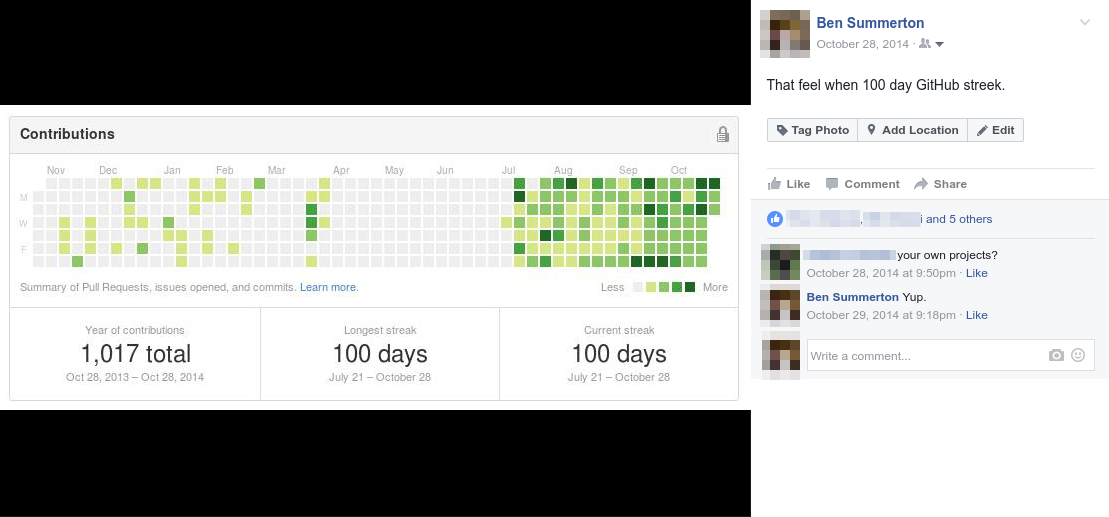
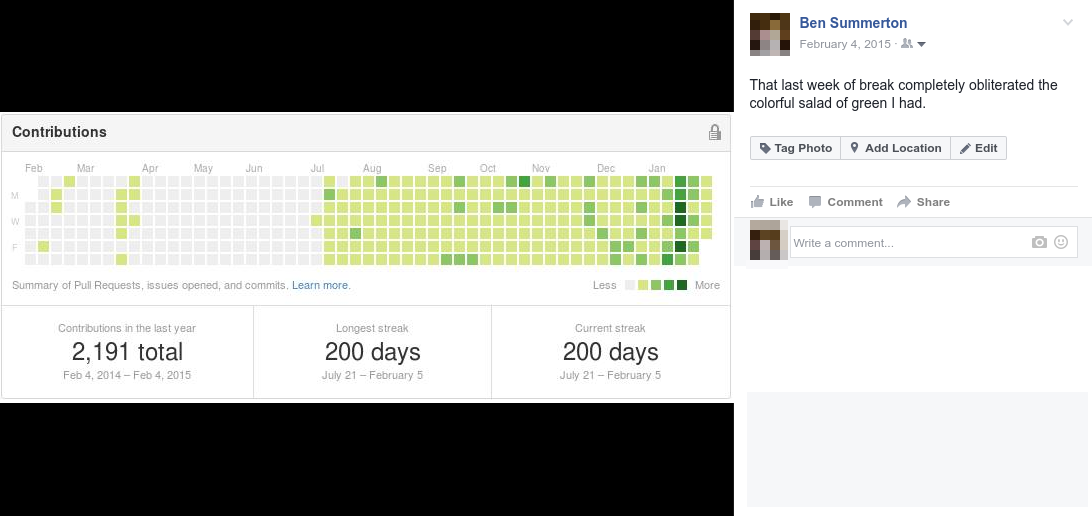
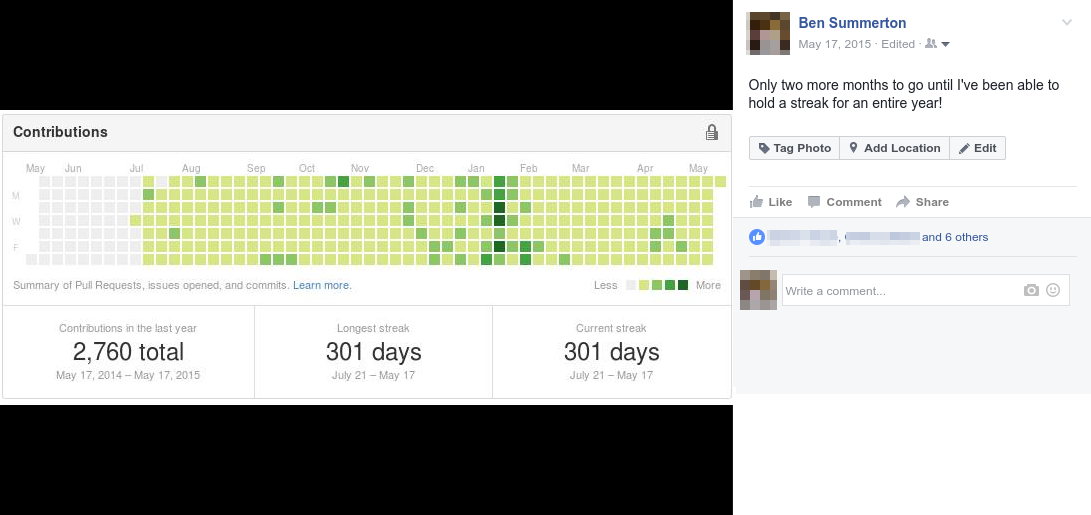
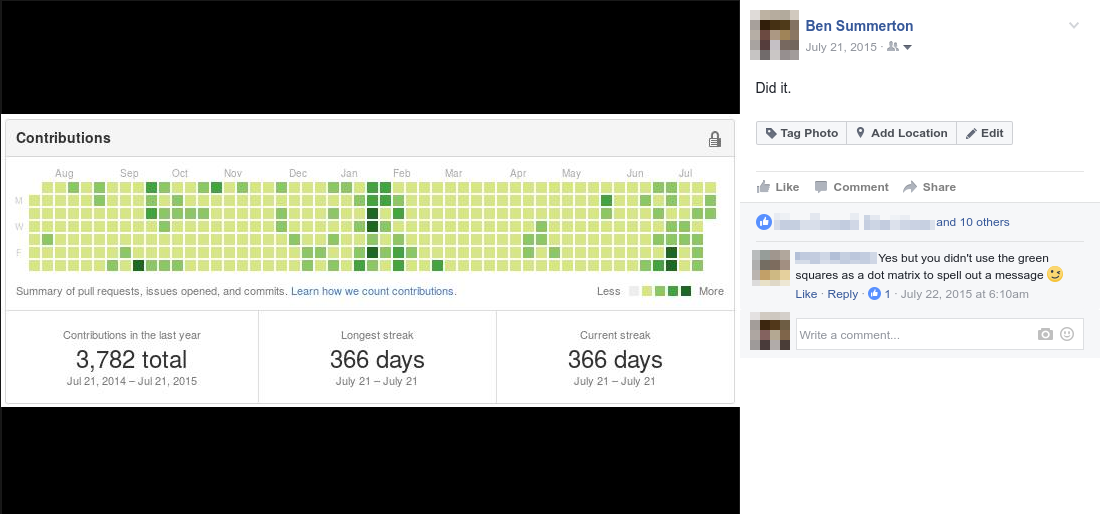
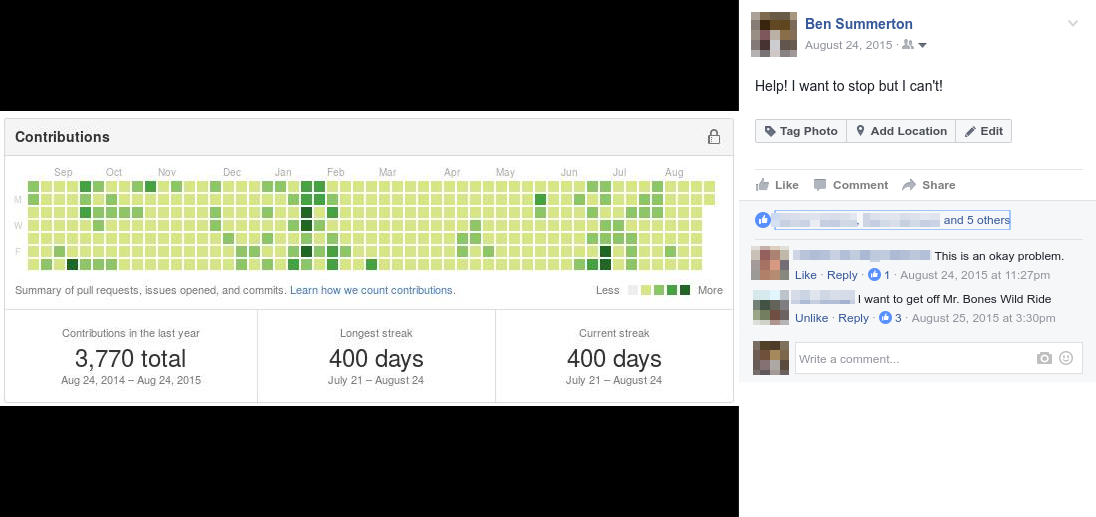
The “major project,” was something that was pretty easy to fulfill. But for the second I did something kind of stupid, but worked well for me. I told myself “Alright, I’m going to work on a project that will have a 365 day long GitHub streak.” In reality, git streaks are a silly thing to track progress. I was working on Blit in a private repo, so the outside world would not see my streak at all. I feel bad for the people who have the need to maintain one. For me it was a reminder to build on Blit each day. It worked.
Whether it be programming, logging issues, source code cleanup, design & planing, writing documentation, etc., I had to minimum goal of one meaningful commit per day. Normally I would spend an hour on Blit per day (more on the weekends). I would keep at it until the kitchen timer to my side beeped. Somehow that little thing was able to keep me focused for a straight hour.
So What Is (or Was) Blit?
I’ve always been someone who’s liked art and programming. Especially combining the two. One of my favorite genres is pixel art, or sprites as they are also known. I’ve dabbled in making a few other art programs before, but nothing like this.
Originally Blit supposed to be only a sprite animation tool that had a modern look and feel, but my ideas for it grew greater (*sigh* feature creep). There are many other sprinting tools out there like GrafX2, Aseprite, (and other 2D animation programs like TVPaint). I’m not saying that it’s wrong that they make their own GUI toolkit, but it feels kind of odd. I really wanted to bring these types of programs out of the days of the Amiga. After doing some initial research, I settled on using Qt. Here are my reasons:
- It’s cross platform. I work on a Linux system, but I want my Windows and OS X friends to be able to use what I make
- It’s a C++ library; my native tongue. But there exists bindings to other languages, such as Python
- There’s a lot more to Qt than just widgets. It really is a fully featured desktop application framework
- It has a massive community around it and it’s very well documented. So if I ever ran into trouble I’d be able to find some help
Before I move any further, you might be wondering where the name “Blit.” came from. Since it had a focus on 2D graphics, the name came from the “Bit blit,” algorithm. I used to do a lot of programming with libSDL, so the function SDL_BlitSurface() has been burned into my brain. I thought it would be a cute name too.
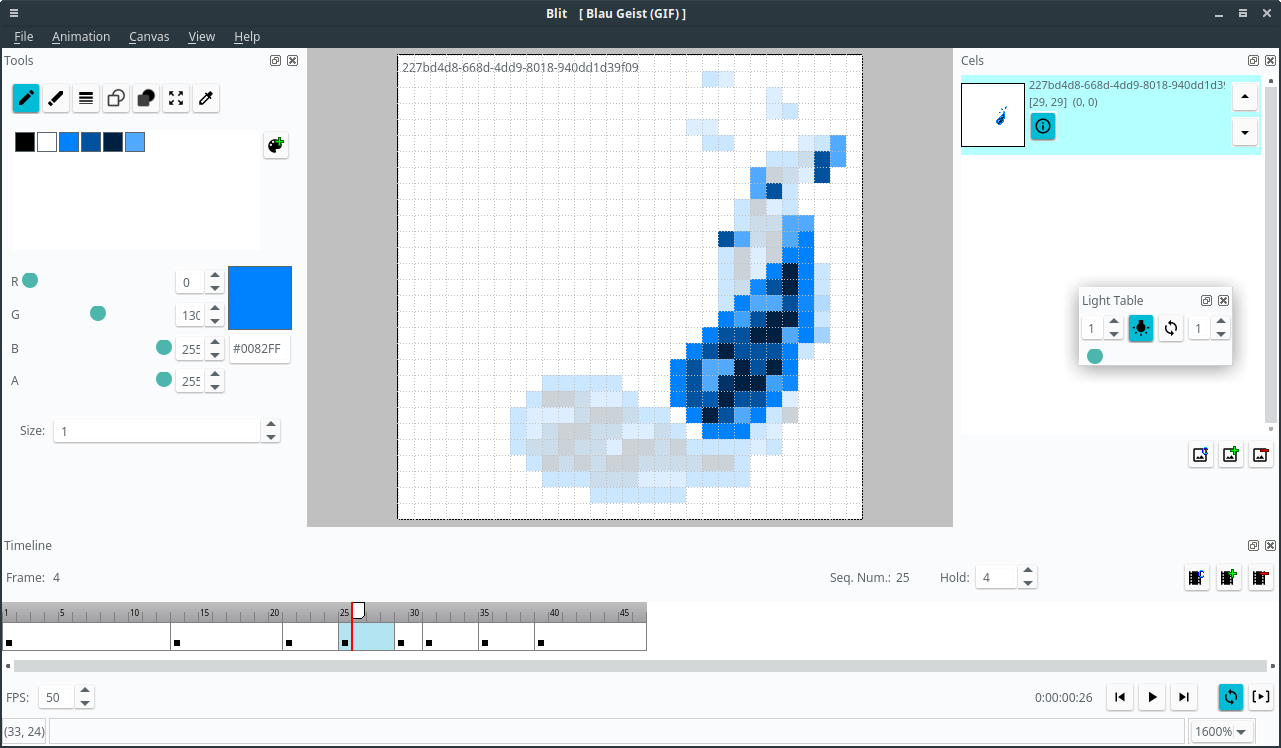
I also wanted to keep more of a “traditional animation,” approach to Blit. Instead of drawing on images there were “Cels.” Layers were called “Planes.” Instead of a Dope Sheets I had “Exposure Sheets.” I didn’t call it “onion skinning,” but “turning on the Light Table.”
Starting Out
As mentioned before, I was focused on sprite animation (originally). I wanted to keep things as easy as possible. While I did consider using Qt’s native C++ libraries, I decided on making the program in Python with PyQt. Scripting languages are typically much faster to write code for. I felt as if I would be able to get more done in less time. I didn’t think that there would be too many computationally intensive procedures to worry about. In the event that I needed some performance boost, I could always write a C/C++ extension for Python.
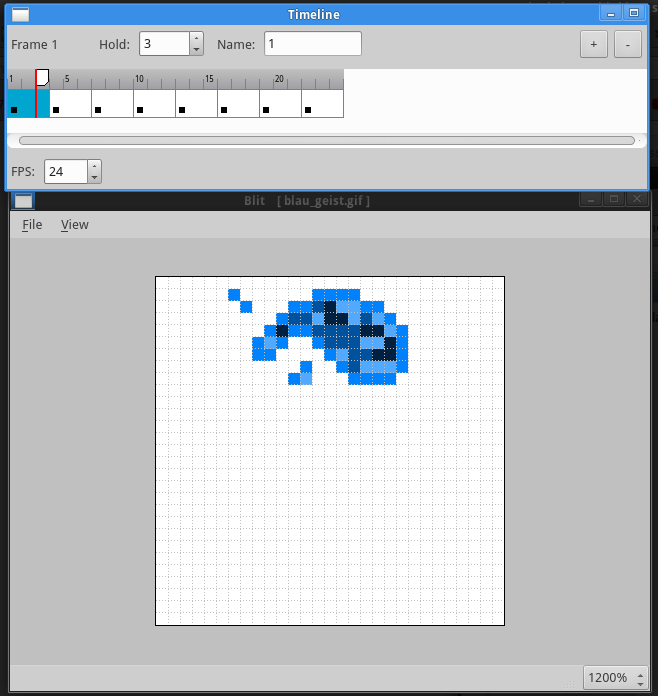
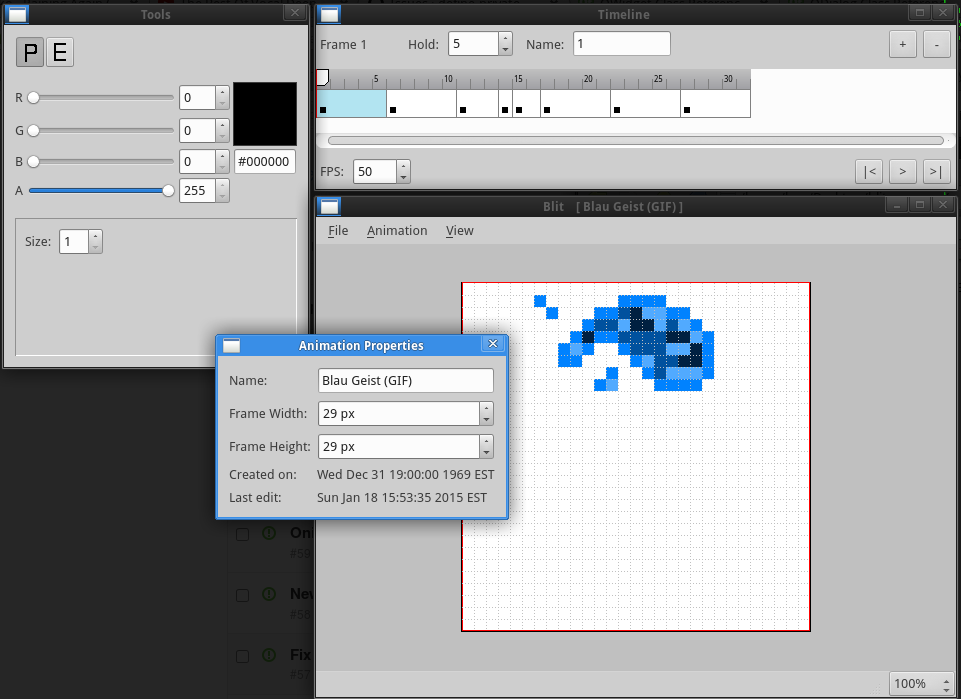
After choosing my tools, the first thing I did was draft some design documents. These included a user interface mockup and an initial file format structure. I started to log tickets on the GitHub issue tracker. I had an miniature road map to start from. Within a month and a half, I was able to load up one of my files into Blit, do a little simple Cel & Frame editing, and then save it. You couldn’t do too much with it, but I thought it was a good starting point.
During my initial research of Qt, I discovered something called the “Graphics View Framework.” There were a lot of widgets that I had to custom make such as the Timeline or the Canvas; it made my life much easier. It really is one of the nice features of Qt. If you’re making a heavily graphical application you should take a look into it.
Despite being able to get a basic animation loaded, edited and played back, I was starting to run into some issues with the development language: Python. I had issues with things like circular imports and nested imports (python files imported from many directories deep). I don’t want to go into the details of how they were affecting me and the project, but all I can say is that they were driving me up the wall. So I devised a solution: Switch to C++.
Now, switching development languages is not always something that’s advised. But at the point where I was, it was feasible to do and would possibly have a better impact on my project. Nested imports are a non-issue in C++ and the circular imports are fixed with simple include guards. On top of that, I wouldn’t have to use PyQt’s bindings anymore and Python would not be a performance bottleneck since it would be gone. Working at my usual hour a day pace, it took somewhere between two and three weeks to port everything I had to C++. I wasn’t happy about losing that time to work on new features, but I think it was a better choice in the end.
I didn’t entirely ditch Python & PyQt. If I needed to prototype a widget, I would use those tools. It helped to realize ideas pretty quickly, then later I would integrate it into the C++ source.
Feature Creep, “Future Planning,” and Broadening Horizons
In the first couple of months that I was working on Blit, more ideas started to pour into my head of what it could or should be able to do. We all know what this is; Feature Creep. Whenever I though of a cool new thing I wanted to add, I usually weighed the cost of adding it in within my current milestone, the next, or burring it in the issue tracker. This is where I developed the “Future Planning,” tag. If something popped into my head, almost 95% of the time I would not mark it under any milestone and put it under that tag. It was a good way for me to tell myself “Alright, I think this would be a good thing, but I need to focus on other stuff right now.” This worked actually pretty well for me. At all times, the most populous tag in my issue tracker was the “Future Planning,” one.
Around 100 days into the project, I felt like I had a good direction that I was going in. I was nearing the end of my (second) internship and I would be left with nearly two months before classes would begin again. With all of this free time, I set myself the goal of “Be able to draw a bouncing ball animation and export it as a Spritesheet,” before Christmas hit. I achieved that.
By this time you could move Cels around on the Frames, move the Frames on the Timeline, and adjust their hold values. I think I focused more on the staging of objects rather than editing them. To work on this shortcoming, I decided to start work on a Tool interface. I had the idea that editing tools should be plugins and people should be able to write their own; a very common idea in art applications. Instead of only “put pixel,” and “erase pixel,” I added line/shape drawing, filling, and was working on a soft brush tool.
When I got back to school I fulfilled that first goal of passing it as a “major project,” in my student group. It was well received for what it was at the time, a very simple pixel art animation tool. Though, I started to think more beyond simple spriting. Not only do I consider myself a fan of Animation, but someone who really enjoys making it. I started to ponder “What if Blit could be used for all sorts of 2D animation, not just pixel art?”
I didn’t think it would be too hard to add a camera hookup to the program (something that I’ve done with Qt before), so Blit could be turned into an application to do pencil tests, capture paper drawn animation, or even stop motion. My rule became “If it’s Bitmap based, Blit should be able to do something with it.” I also thought that there wasn’t a good free (both as in beer and speech) software solution to 2D computer animation. TVPaint, Dragonframe, and FlipBook were used a lot in the animation department. I can understand the expensive cost of them for professionals and that it’s niche software, but it really sucks for students who want to learn how to animate, but already were paying a small fortune for their college tuition.
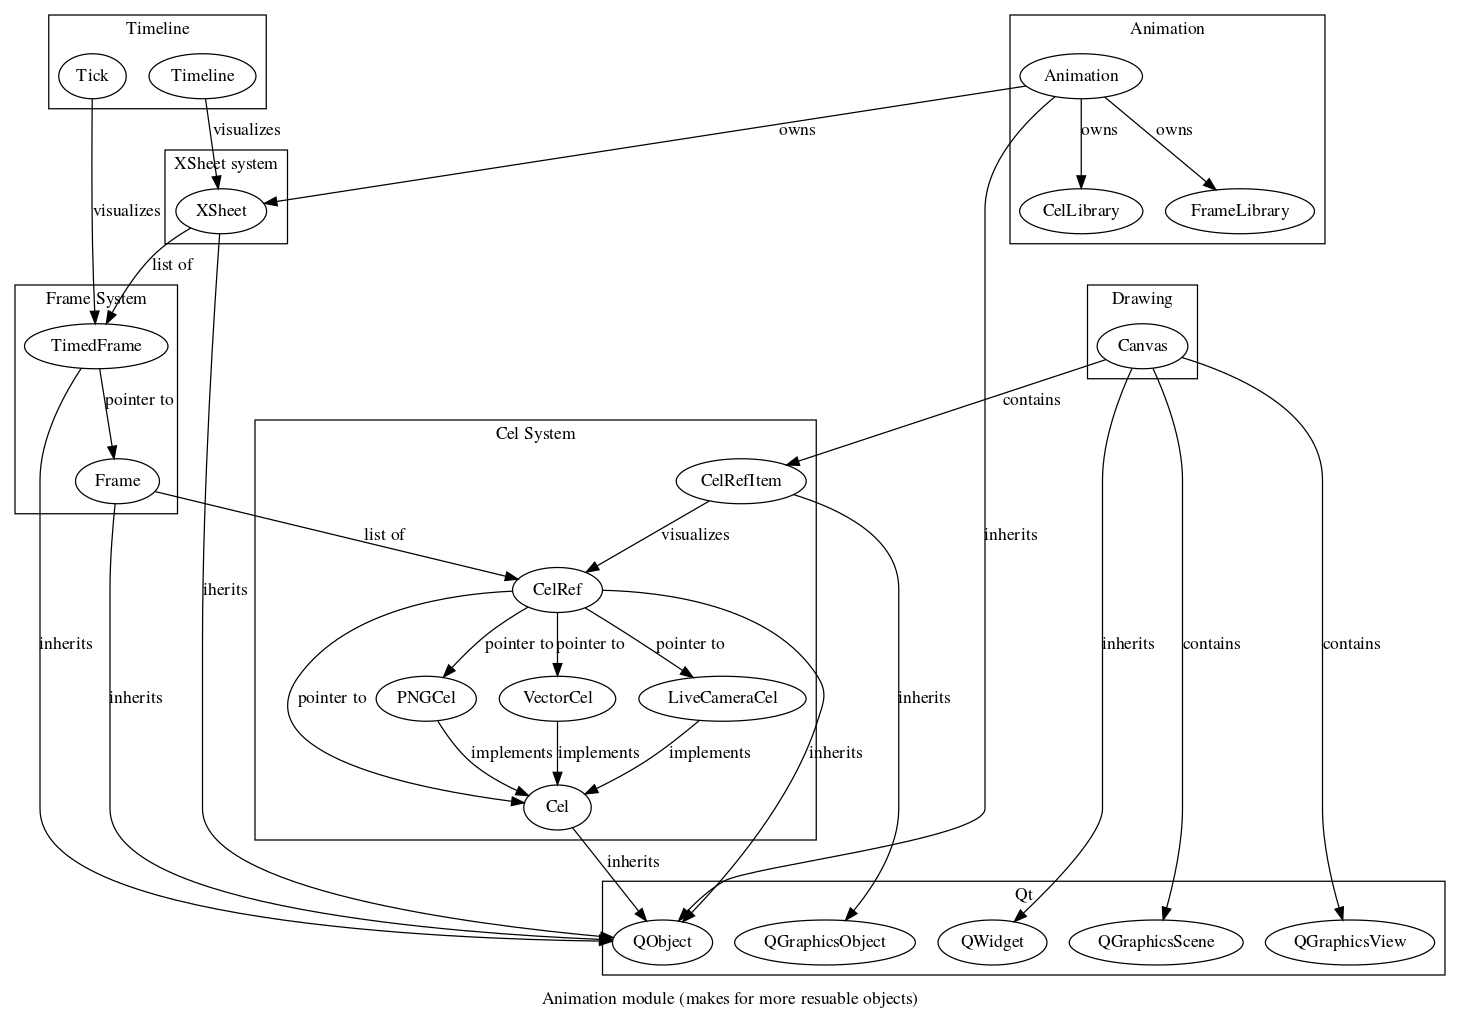
To make Blit more generic, it had to undergo something I called dubbed “The Grand Refactoring.” The whole animation module was like this: an Animation owns an XSheet, which owns a list of Frames, where each Frame owns a list of Cels. No reuse. This was good to get started with, but pretty bad since in the real world animation is reused all of the damn time. So I devised up this system instead:
As it would force me to fix up almost every single thing in the program that touched the Animation module (including the file format), I set this to be its own “half milestone.” It took about a month and a half to complete. It really sucked not being to add any new features for that time; only endless refactoring. At the end of that, all the logic was in the code to be able stage the same Cel across multiple Frames, or instance a Frame multiple times in the Timeline. Though, because I was focused on fixing things up, I didn’t add in an interface where the user could actually reuse Cels and Frames. If they wanted to, they would have to edit the sequence.xml file. So it was there, it worked, but wasn’t usable by the layman.
While taking classes and juggling other (smaller) projects it sometimes became difficult to make meaningful contributions to Blit. I tried to stick to my “one hour a day rule,” but that became hard. Also, refactoring isn’t fun. You don’t get to see new features, you’re restructuring stuff that already exist. You might also break things and then have to spend time fixing them. It’s hard to stay motivated when nothing is new or exciting.
My brain was fried after writing code for my class assignments. I found that (better) documenting the source code, reviewing issue tracker tickets, and revisiting design documents wasn’t too hard. If I recall correctly there was a two week stint were that was all that I did.
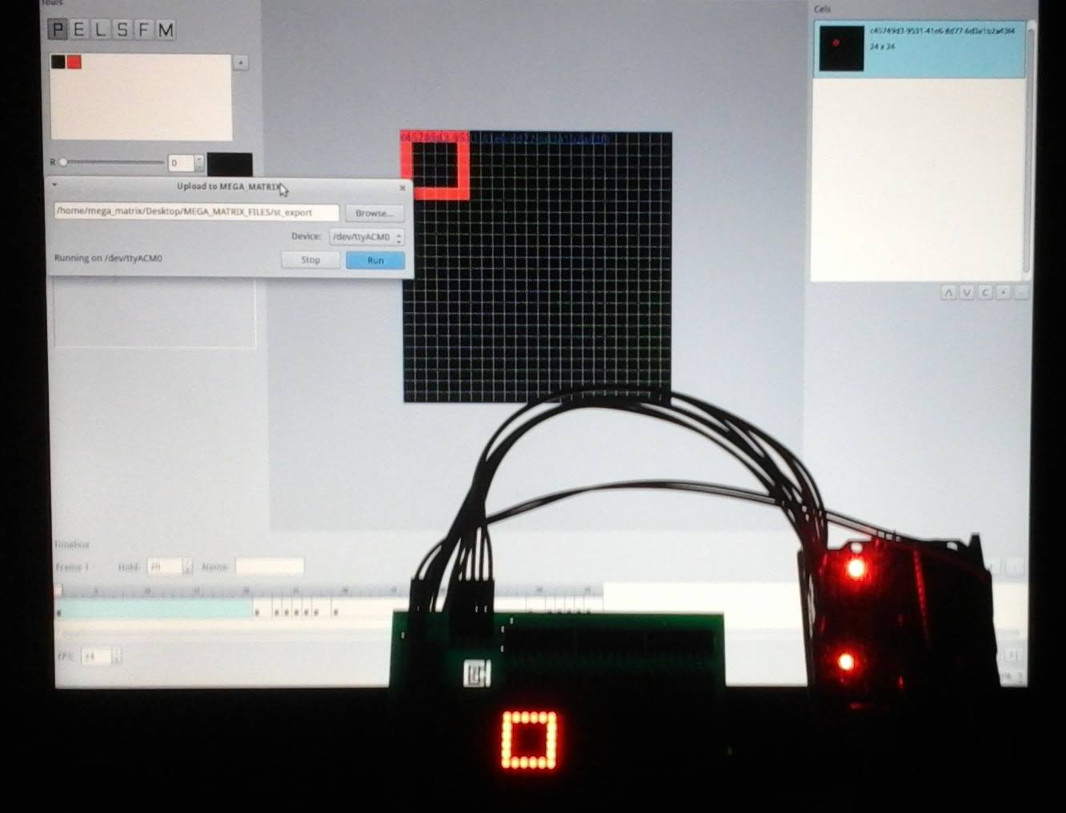
Despite all these speed bumps, I got to do something really cool with Blit at the end of the year. If you’ve read some of my older blog posts, you may have seen this thing I made called MEGA_MATRIX. For those of you who don’t know what it was, it is a 24x24 LED Dot Matrix display. I actually developed it in tandem with Blit during the early days of the application. Anyways, at the end of the year my college hosts what is essentially a campus wide show and tell day. I thought it would be neat If I could let people doodle animations in Blit, then upload them onto MEGA_MATRIX. Turns out it was. I made a special fork of Blit called “The MEGA_MATRIX Edition,” where I only let users draw in two colors (red and black), preview their animations, and then upload them to an Arduino to drive the display. One of my friends said it was his favorite thing at the festival because “[I] practically made a hardware implementation of Mario Paint.”
Altered Scope, One Full Year, and the End of Development
At the beginning of 2015’s summer, I was off to my next internship. During the day I would write C# code for a rendering infrastructure. After work I would exercise, watch some TV, play a few video games, but also work on Blit, for well, at least an hour a day.
After “The Grand Refactoring,” and the MEGA_MATRIX Edition I was able to get a few more features out of the way. Changing the Canvas’ backdrop color, pixel grid, selective playback, a color picker tool and more. One of my favorite additions was onion skinning (I called it the Light Table). Thanks to the newly redesigned Animation module, it actually made it pretty easy to implement.
Then sometime in mid July I hit my second goal; hold onto a GitHub streak for one year straight.
The code for Blit was starting to get really huge at this point. I still was able to manage it myself, but it started to become a bit of a chore too. I also spent a lot more time refactoring and fixing existing code rather than working on new features. I feel like I lost a little of my drive then. As my two initial goals were achieved I could have stopped here. But for some reason, I didn’t want to. I kept on pushing.
My internship came to an end, I had a week at home, and then I was off to another internship. All of the previous places were I interned let me work on outside projects if I wanted to. As long as it wasn’t during work time, with work equipment, or a competing product I was free to do what I want. This time around, my employer asked me to stop working on outside projects all together.
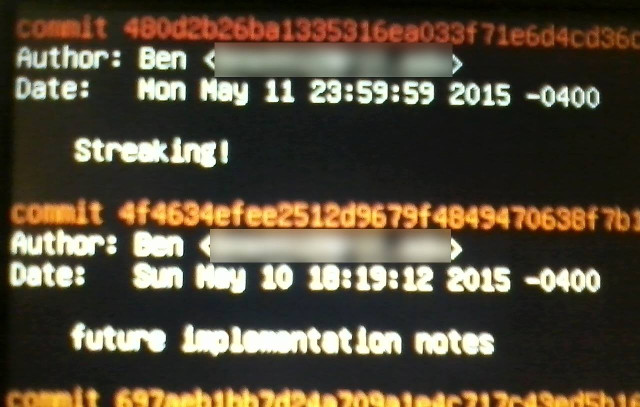
While I felt that work on Blit was starting to go stale I still didn’t feel to happy about having to quit development. I could have worked on it in secret, but that didn’t feel right to me. So, right before leaving for the first day of work I made an early morning final commit to the Blit repo. It was kind of poetic that my ending streak was exactly 400 days long.
In the month that followed, I was bummed that I wasn’t able to add an interface for the reusable Cels/Frames, the Brush and Resize tools were still unfinished, no work on multiple planes was ever done (Cel layering existed though), but worst of all, I feel that it sucked when trying to make sprites; the original goal of Blit. I still had ideas popping into my head. Such as using FFmpeg to export animations as animated GIFs. All I could do is just scribble them down on some note paper and file it away for when I was done with my current internship.
So four months down the road I was done with my final practicum. Did I start back working on Blit? No. The previous month was pretty turbulent for me, as well as the next couple. It was my last semester at college and I was more focused on graduating. I still had ideas coming into my head for Blit, but they would go into the issue tracker instead of the code. I felt that I was way too out of it to startup work back on Blit. I also realized how much of a behemoth the source had become. Thus I decided to put it on hiatus indefinitely.
Final Lookback and the Future
Almost everything I’ve done is a learning project for me. Some of I learnt very little from, others a lot. Working on Blit taught me so much more about Qt than I ever wanted to know. Hell, in the process of developing Blit I spotted a minor bug in Qt and was able to submit a(n) (accepted) patch to the project. That was one of the more rewarding moments, as I’ve never contributed to a major open source project before.
But the main thing I gained from Blit was learning how to manage/handle/organize a larger project. I was never involved with issue tracking, documentation, and design so much before. As stupid of an idea it was to maintain a year long GitHub streak, it somehow worked for me. It was fun to show off the streak to my friends, it was really there for me to motive myself.
While building Blit, one the things I always wanted to do was work on it with other people. Though, I kept it in a private repo I always had the intention of releasing the source code when I was done with some of the core features. While many of my friends thought it was interesting, I couldn’t find anyone else who wanted to work on it. I always made sure to keep good documentation of the design and source code for this reason. I really wish I had others to help me with this, not only so that I could have had Blit in a much further state, but also so I could learn how to collaborate with others better too.
It’s now been a year since I last touched Blit. At the beginning of this past Summer there was a monkey on my back to figure out “the future of Blit.” I know I wanted to release the source for it, but I’m not sure where I want to go with it. In the past year Dwango released OpenToonz and Krita has added some animation tools. Both of these have much better drawing capabilities. It’s hard to compete.
I have a small desire to restart work on Blit. For example, adding a camera connection to shoot paper drawn animation or working on some FFmpeg exporting. But I have other priorities right now. If I had to do it again, I would want to write Blit in C# instead of C++. I’ve grown to love C# a lot in the past year and development in it is much easier than C++, and performance is still pretty good. I really hope that QtSharp can get off of the ground sometime soon.
If you want to check out the source for Blit, you can find it over here: gitlab.com/define-private-public/blit. If you want to see some of my fabulous source documention, it’s at: https://blit.gitlab.io/SourceDocs/. And if in the slightest chance that you’re interested in working on Blit, please contact me.
To end with, here are some stats:
- 97 source code files
- 8,175 lines of code (95% C++)
- 400 days of contributions
- 364 issues tracked
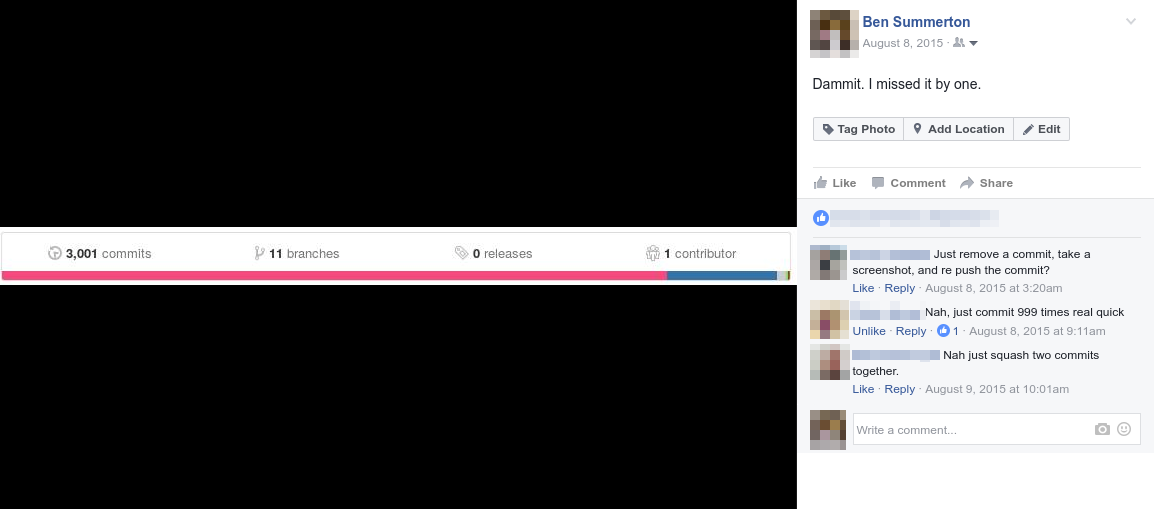
- 3,151 commits
- 91,528 additions, 65,617 deletions
- An unknown amount of users
- and 1 developer (me)
I've been hard at work to make sure that the new "Tutorials," section works well and functions the way I intended it to. Nearly every day I've been finding and fixing a new bug. Anyways, to kick it off, I will be running a series of tutorials around C#'s Networking API (the System.Net namespace). You can find it over here.
There isn't much there now, but expect more soon!

